
How to Read a Tape Measure might seem tricky at first, but once you understand the basics, it becomes second nature. Whether you’re measuring for a home project or simply learning a new skill, knowing how to use a tape measure accurately can save you time and frustration. In this guide, we’ll walk you through the steps to read a tape measure like a pro, even if you’re using it for the first time.
Tape measures are handy tools that come in both Imperial and Metric units. If you’re in the U.S., you’ll most likely use the Imperial version, where measurements are marked in inches and feet. In this post, we’ll focus on how to read a tape measure in inches, breaking down the smaller divisions like ½”, ¼”, and even 1/16″ to help you make precise measurements every time.
Contents
- 0.1 Understanding the Basics of How to Read a Tape Measure
- 0.2 How to Read a Tape Measure: The Different Markings Explained
- 0.3 Step-by-Step Guide: How to Read a Tape Measure Accurately
- 0.4 Common Mistakes When Learning How to Read a Tape Measure (And How to Avoid Them)
- 1 How to Use Your Tape Measure to Get Perfect Measurements Every Time
- 2 Mastering the Smallest Increments: How to Read a Tape Measure Like a Pro
- 3 How to Read a Tape Measure in Less Than 5 Minutes
- 4 Conclusion
- 5 FAQs
Understanding the Basics of How to Read a Tape Measure
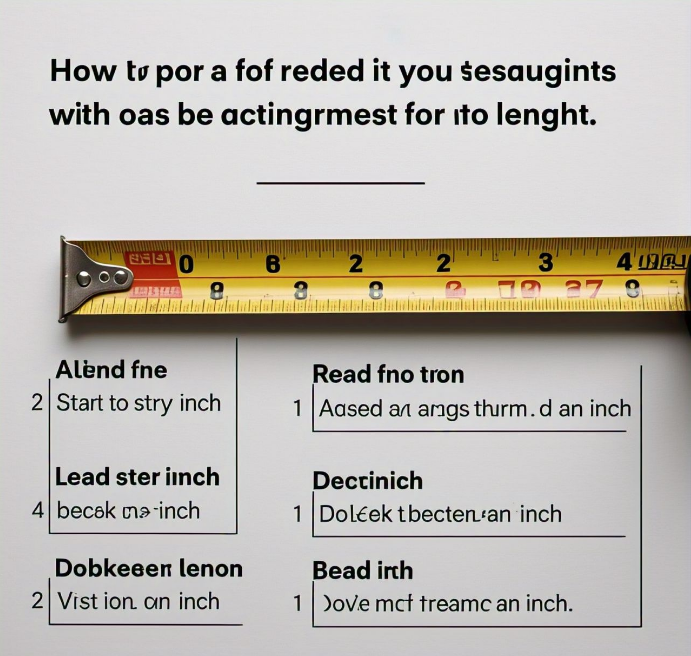
When you first pick up a tape measure, it might seem confusing. But learning how to read a tape measure is easier than you think! Tape measures help you measure things like length, width, and height. They have numbers on them, which show you the measurements. The bigger the number, the longer the length.
A standard tape measure has markings for inches. In most cases, these numbers are printed on the tape itself. The biggest numbers represent full inches, while smaller numbers show smaller measurements like half an inch or a quarter inch. The key is to look at the markings and understand how far apart they are.
Each space between two larger numbers represents a smaller unit of measurement. The most common ones are ½”, ¼”, and ⅛”. When you measure, start with the largest number and then move to the smaller markings. This way, you can figure out how long or wide something is.
How to Read a Tape Measure: The Different Markings Explained
Now that you know the basics, let’s dive into how to read a tape measure and the different markings you’ll see on it. These markings help you measure smaller lengths, and knowing them will give you a more accurate reading.
Types of Markings You’ll Find on a Tape Measure
- Inches (1″) – The largest number marking.
- Half an inch (½”) – This is the next marking after an inch.
- Quarter inch (¼”) – This is half of ½”.
- Eighth inch (⅛”) – This is half of ¼”.
- Sixteenth inch (⅑”) – A small but important measurement!
Each of these markings helps you measure smaller pieces accurately. With a bit of practice, you will start reading these markings quickly
Step-by-Step Guide: How to Read a Tape Measure Accurately
Now that you know the basic markings, let’s go step-by-step on how to read a tape measure. First, place the tape’s end at the starting point of what you want to measure. Make sure the tape is straight and not twisted to get an accurate reading.
Once the tape is in place, look for the largest number on the tape. This represents the number of inches. From there, look for the smaller numbers after the inch. Add up the measurements to get the full length. For example, if the tape shows 3 inches and the next marking is ½”, then the total measurement is 3½ inches.
Common Mistakes When Learning How to Read a Tape Measure (And How to Avoid Them)
Reading a tape measure is a skill that takes practice. Many beginners make a few common mistakes. But don’t worry! With time, you’ll learn to avoid them.
Mistakes to Watch Out For:
- Not reading the tape carefully – Always double-check the markings.
- Forgetting to start from zero – Make sure you start from the beginning of the tape.
- Misreading the smaller increments – Smaller markings like ⅛” and ⅑” can be tricky, so practice is key.
With practice, you will soon feel confident in your ability to measure anything with a tape measure.
How to Use Your Tape Measure to Get Perfect Measurements Every Time
Using a tape measure accurately is an essential skill, especially for home projects or when working with tools. If you want perfect measurements every time, it’s important to focus on small details and practice consistently. Here’s how you can use your tape measure more effectively.
First, ensure the tape measure is not twisted or bent, as this can affect the accuracy of your readings. Always pull the tape fully out to the measurement you need, and make sure it lies flat against the surface you are measuring. Hold the tape measure firmly at the starting point to prevent it from moving as you measure.
When reading the measurement, take your time. If you’re measuring something with a precise length, look closely at the smallest markings like 1/16″ to ensure your measurement is exact. By following these simple steps, you’ll be able to get perfect measurements without mistakes.
Mastering the Smallest Increments: How to Read a Tape Measure Like a Pro
To become a pro at how to read a tape measure, you need to master reading the smallest increments. This is crucial when you need precise measurements for detailed work, like building furniture or making custom pieces for home repairs.
Small Increments to Understand:
- 1/32″ – This is one of the smallest measurements on a tape measure.
- 1/64″ – Some high-precision tapes may have even smaller markings.
These tiny measurements are often crucial in carpentry or sewing projects where small differences make a big impact. By understanding these tiny divisions, you’ll gain confidence in getting the exact measurements you need. With practice, you’ll start seeing these small increments clearly and reading them as easily as the larger ones.
How to Read a Tape Measure in Less Than 5 Minutes

Learning how to read a tape measure doesn’t have to be complicated. You can easily get the hang of it in just a few minutes with these simple steps.
To start, simply focus on the biggest number, which represents the inches. Then, look at the smaller increments, which are fractions of an inch, such as ½”, ¼”, and ⅛”. Just by knowing these fractions, you’ll be able to read the length in a matter of seconds. It’s all about understanding how each space relates to the next.
Once you’ve practiced for a little while, you’ll be able to read a tape measure quickly and confidently. After just five minutes of practice, you’ll be able to measure almost anything!
Conclusion
In conclusion, how to read a tape measure may seem tricky at first, but with a little practice, it becomes very easy. Understanding the different markings and practicing reading the measurements will help you use a tape measure like a pro. Remember, always start at zero, look for the largest number, and then focus on the smaller fractions.
So, the next time you need to measure something, you’ll be able to do it quickly and accurately. Whether you’re measuring for a DIY project or just need to know how long something is, using a tape measure is an essential skill. Keep practicing, and soon, you’ll feel comfortable reading any tape measure with confidence!
FAQs
Q: How do I start reading a tape measure?
A: To start, find the largest number (inches) on the tape. Then, look at the smaller marks for fractions like ½”, ¼”, and ⅛”.
Q: What does the smaller marking mean on a tape measure?
A: The smaller markings represent parts of an inch. For example, ½” is half of an inch, and ¼” is a quarter of an inch.
Q: How do I measure something smaller than one inch?
A: For measurements less than one inch, use the smaller markings on the tape to read the length in fractions, like ½”, ¼”, or even ⅛”.
Q: How can I make sure my measurement is accurate?
A: Make sure the tape is flat and straight, and always start from zero. Take your time and double-check the markings.
Q: Can I use a tape measure for both small and large measurements?
A: Yes! Tape measures can be used for both small measurements, like an inch, and large measurements, like feet or yards, depending on the length of the tape.