
Are you looking to take your photography skills to the next level? The secret to capturing stunning images lies in one thing: a Top Shot. A top shot is when you take a photo from above, creating a unique perspective that instantly grabs attention. Whether you’re a beginner or an experienced photographer, understanding the power of a top shot can change how you see the world through your lens.
In this guide, we will show you how to take the perfect top shot, from choosing the right subject to positioning your camera. By the end, you’ll have all the tips and tricks needed to create photographs that stand out and impress your friends, family, or even clients. Ready to take your shots from ordinary to extraordinary? Let’s dive in!
Contents
- 1 What is a Top Shot? Understanding the Basics of Unique Photography
- 2 Why Top Shots Can Transform Your Photography
- 3 The Best Tools for Capturing Stunning Top Shots
- 4 How to Set Up the Perfect Top Shot: A Step-by-Step Guide
- 5 Lighting Tips for Your Top Shot: Making Every Photo Shine
- 6 Common Mistakes to Avoid When Taking Top Shots
- 7 Top Shot Photography Ideas for Beginners
- 8 How to Edit Top Shots Like a Pro
- 9 Incorporating Top Shots into Your Photography Portfolio
- 10 Conclusion
- 11 FAQs
What is a Top Shot? Understanding the Basics of Unique Photography
A top shot is a type of photograph taken from above the subject. It’s also known as an overhead shot or bird’s-eye view. This perspective can make everyday scenes look extraordinary. For example, a simple picture of a coffee cup becomes more interesting when taken from above. The key to a great top shot is positioning the camera perfectly so that everything in the frame is aligned.
This technique adds a sense of depth and dimension to your photos. It’s often used for food photography, product shots, and even architecture. By shooting from above, you can show multiple objects or features in a way that a regular photo might not. This makes top shots perfect for capturing a wider scene or telling a story from a different angle.
Why Top Shots Can Transform Your Photography
Top Shots bring a fresh perspective that can totally change how your photos are viewed. When you capture something from above, you offer your audience a unique viewpoint. It’s like showing them the world from a new angle, making the photo stand out more.
This perspective helps highlight patterns, symmetry, and details that people might miss from eye level. If you’re looking to make your photography more eye-catching, adding top shots to your collection is a great idea. Whether you’re shooting landscapes, street scenes, or still-life setups, the top shot can reveal things that would otherwise stay hidden.
The Best Tools for Capturing Stunning Top Shots
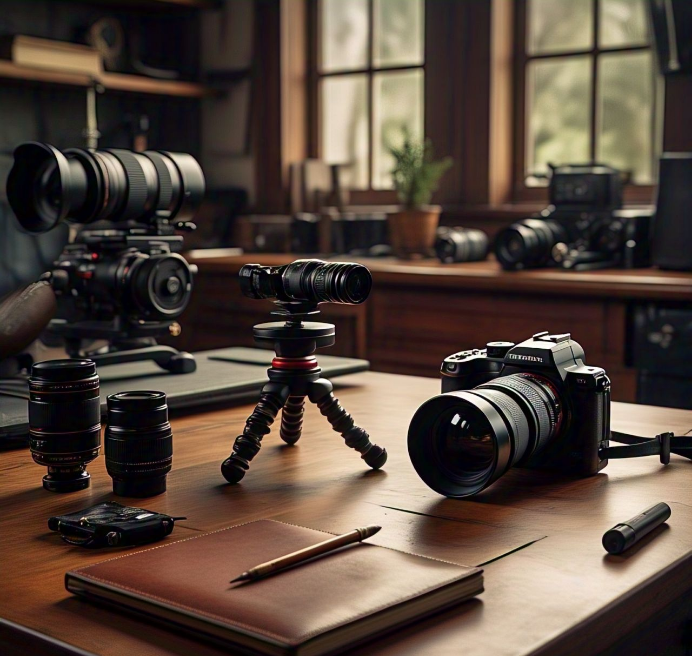
To capture a perfect top shot, you don’t need a super fancy camera. However, having the right tools can make it easier. A smartphone with a good camera can work wonders for top shots. Simply holding your phone above your subject can give you the perfect angle.
If you want more control, you can use a tripod with a horizontal arm or a drone for aerial shots. These tools allow you to position your camera exactly where you need it. A drone, for example, lets you take high-quality top shots from great heights, perfect for wide landscapes or big events.
How to Set Up the Perfect Top Shot: A Step-by-Step Guide
Step 1: Choose Your Subject Carefully
For a good top shot, make sure your subject has interesting features from above. A flat surface like a table with items arranged neatly will work best.
Step 2: Position the Camera
Hold your camera directly above your subject. Make sure the lens is parallel to the ground for an even shot. You can use a tripod if necessary to keep the camera steady.
Step 3: Adjust the Lighting
Good lighting is essential for any photo, but especially for top shots. Make sure the light source is even across the subject to avoid shadows or dark spots.
Step 4: Take Multiple Shots
Take a few different photos from slightly different angles. This gives you more options to choose the best shot later.
Lighting Tips for Your Top Shot: Making Every Photo Shine
Good lighting is one of the most important things in any photograph. For top shots, natural light is often the best choice. Shoot near a window or outside when the sun is out to get soft, even lighting on your subject.
If you’re shooting indoors, use softboxes or other diffused light sources to avoid harsh shadows. Position the lights to cover the entire scene evenly. If your subject has reflective surfaces, try to use light that doesn’t create too much glare, as this can ruin your shot.
Key Lighting Tips:
- Use Natural Light: Soft, diffused sunlight works best for top shots.
- Avoid Shadows: Use multiple light sources to eliminate dark spots.
- Experiment with Artificial Lights: Softboxes can help diffuse the light for better results.
Common Mistakes to Avoid When Taking Top Shots
Taking top shots can be tricky if you’re not careful. One of the most common mistakes is not aligning the camera properly. If the camera is tilted even slightly, the shot will not look straight, making it harder for the viewer to focus on the subject.
Another mistake is poor lighting. If the subject is too dark or there are harsh shadows, it can ruin the beauty of the shot. Make sure the light is balanced and the subject is well-lit from all sides.
Other Mistakes to Watch Out For:
- Incorrect Camera Angles: Ensure the camera is directly above the subject.
- Busy Backgrounds: A cluttered background can distract from the main subject.
- Not Editing: Don’t forget to adjust exposure and contrast to enhance the shot after taking it.
Top Shot Photography Ideas for Beginners
If you’re just starting with top shot photography, here are some fun ideas to try:
- Food Photography: Capture meals or snacks from above for a fresh, artistic view.
- Flatlays: Arrange everyday objects like books, flowers, or stationery in an organized way.
- Nature Shots: Take a photo of a field of flowers, a leaf, or even small items like seashells.
These simple ideas can help you practice the technique and get comfortable with top shots. Once you master the basics, you can experiment with more advanced compositions.
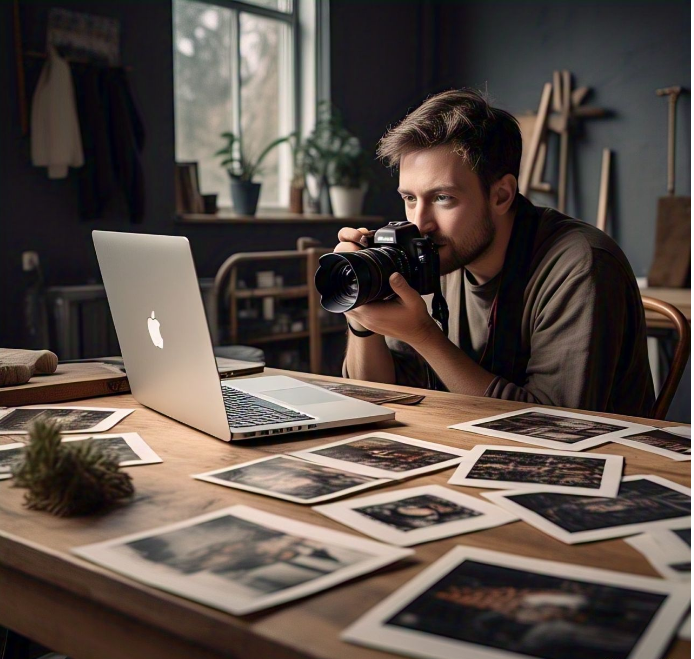
How to Edit Top Shots Like a Pro
Editing your top shot photos is just as important as taking them. With the right editing tools, you can make your photos look even more stunning. First, focus on adjusting the brightness and contrast to ensure your subject is well-lit. Sometimes, top shots can look too dark because they’re taken from above, so brightening them up is essential.
Next, consider sharpening the image. This will help enhance the details and make the subject pop. You can also crop the photo to remove any distracting elements from the edges. Make sure the focus stays on the subject, and the composition feels balanced.
One tip for editing top shots is to play with the saturation. If you’re photographing food or objects, increasing the color saturation can make your photo more vibrant and eye-catching. However, be careful not to overdo it—too much saturation can make the photo look unnatural.
Editing Tips for Top Shots:
- Adjust Brightness: Brighten up the photo to reveal hidden details.
- Sharpen the Image: Enhance the focus and clarity of your subject.
- Play with Saturation: Boost colors without overdoing it to keep a natural look.
Incorporating Top Shots into Your Photography Portfolio
Top shots can make a significant impact on your photography portfolio. These unique perspectives showcase your ability to think outside the box and capture images from angles most photographers miss. By including a variety of top shot examples in your portfolio, you’ll highlight your skills and creativity.
When adding top shots to your portfolio, make sure to choose the best ones. Select photos that are well-composed, lit properly, and tell a clear story. This will give potential clients or employers a sense of your range and versatility. You want your portfolio to reflect your best work, so don’t be afraid to showcase your most unique and powerful top shots.
Additionally, organizing your portfolio in sections can help make it easier for viewers to navigate. Consider grouping your top shots into categories like food, nature, or architecture. This way, your audience can easily see how you apply the top shot technique to different subjects.
Tips for Creating a Strong Portfolio with Top Shots:
- Select Your Best Work: Choose top shots that show your creativity and skill.
- Organize by Category: Group similar top shots together for easy navigation.
- Keep It Updated: Regularly update your portfolio with fresh top shots.
Conclusion
In conclusion, mastering the art of top shot photography can open up a whole new world of creative possibilities. With a little practice and the right techniques, you can start taking photos that stand out and capture the attention of your audience. Whether you’re shooting food, nature, or everyday objects, top shots offer a fresh and unique perspective that traditional photography simply can’t match.
Remember, the key to a great top shot is patience and attention to detail. Make sure your camera is positioned correctly, use proper lighting, and always experiment with different angles. With time, you’ll be able to capture stunning top shots that truly shine. So, grab your camera, start practicing, and see how this photography technique can transform your photos!
FAQs
Q: What is a top shot in photography?
A: A top shot is a photo taken from above the subject, giving it a bird’s-eye view. This angle creates a unique and interesting perspective.
Q: Do I need special equipment for top shots?
A: You don’t need special equipment, but a tripod or drone can help you capture more precise and elevated top shots.
Q: How can I avoid shadows in my top shot?
A: To avoid shadows, use soft, diffused lighting and position your light source above the subject.
Q: Can I take a top shot with my smartphone?
A: Yes! Smartphones with good cameras can take great top shots. Just hold your phone above your subject and make sure the camera is steady.
Q: What are some common mistakes when taking top shots?
A: Some common mistakes include tilting the camera, not having enough light, or having a cluttered background. Always aim for a steady camera and clean, well-lit subject.